Rubber gloves are crucial for numerous tasks, including food, cleaning services, or simply household chores. They save your hand skin from drying and chafing when working closely with chemicals. Reusable gloves are more efficient, cost-effective, and environmentally-friendly. But they need to be washed and maintained properly to stay clean and durable.
Washing kitchen rubber gloves won’t take you much time. All you need is to wash the outside and inside of the gloves with mild soap. But wait until the outside is completely dry before turning them inside out. After that, apply disinfectants to get rid of bacterias. Finally, store them properly for further use.
In this article, besides providing a step-by-step guide on how to clean rubber gloves, we will give you pro tips on glove storage so you can make the most use out of them.
Table of Contents
What You Will Need
Before proceeding, check if your household gloves have one of these signs:
- The color is too faded.
- They have a highly unpleasant smell of rubber that might transfer to your hands after use.
- They have tiny splits.
- They are stretched and tend to loosen when you put them on.
The signs show that it’s time to replace the gloves, washing them won’t help. Mold and germs have probably formed inside and outside. Continuing wearing them puts you at risk of contamination.
Another big question is “Can you disinfect rubber gloves?” Yes, but only to light infections, such as E. coli (a bacteria found in animal and human intestines), regular cold and flu virus, staph (generally known as the bacteria that causes skin infections), and salmonella. If your gloves come in contact with bodily fluids or blood, they should never be reused.
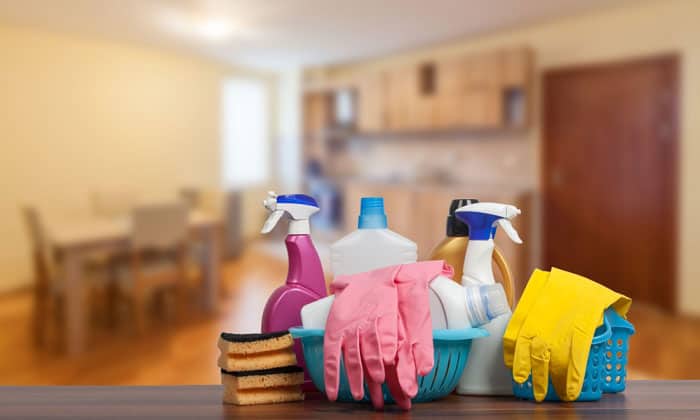
With that said, quickly gather the following to give your rubber gloves a thorough wash.
1. Mild soap
Most cleaners are safe for rubber. You can use dish soap or mild detergents. Remember to avoid harsh chemicals containing bleach, which can cause the rubber to lose elasticity, degrade, and crack.
2. Water
Keep some warm water handy, make sure the water is free from residue.
3. Rubber-safe disinfecting wipes or sprays
Last but not least, you need disinfecting wipes or sprays to sanitize the rubber gloves. Look for products that are suitable for rubber. Aside from removing 99% of bacterias, such products will help deodorize. If you don’t have a disinfectant, white vinegar can be an alternative. It doesn’t contain harsh chemicals while having great bacteria-killing power.
Steps to Clean Rubber Gloves Thoroughly
Oftentimes, rubber gloves can be machine-washed. You can place them in a garment bag. Then, use a mild detergent and select a gentle washing cycle. However, washing rubber gloves with the machine makes them stretchy, less durable, and not as clean. We recommend hand-washing the gloves with the following steps.
Step 1: Wash the outside of the gloves
Firstly, wash the outside of the gloves with soap while you are wearing them. This should be done at the end of each chore to prevent build-up dirt. Don’t forget the fingertips and folds. After that, rinse them with warm water, remove the gloves, and wash your hands with soap.
Wait until the outside is completely dry before getting to the next step. It would be best if you hung them vertically in a cool, ventilated place. Don’t expose them to external heat sources, like sunlight, hairdryers, or cloth drying machines. Heat will stretch and damage the rubber.
Step 2: Wash the inside of the gloves
Now, make a mixture of soap and warm water, turn the gloves inside out, and soak it in the mixture for a few minutes. Then, repeat the washing steps. Remember to be gentle since it only takes a tiny split for the gloves to be unusable.
Step 3: Apply the disinfectant
When they are completely dry, you can apply the disinfectant to the gloves’ outside. Don’t put any chemicals on the inside, as they can harm your skin. Follow the product instructions for the best results and pay close attention to the drying time. Don’t wear your gloves when they are still wet.
If you want to use white vinegar, go ahead and make a mixture of half vinegar and half clean water. Use a cloth or cotton ball to wipe the outside thoroughly with the mixture. Finally, let them fully air dry.
Watch this video for better visualization.
Step 4: Store
Storing the gloves properly is vital to improving their longevity. Don’t hang them on a random spot near the sink, the moisture can cling onto rubber and cause a terrible odor. Instead, keep them in the drawer where you store dry cleaning cloths, brushes, and sponges. Avoid putting them near pointed objects, like knives or shears.
Also, it’s not advisable to wear the same pair of gloves for different tasks. You should have at least two pairs, one for the kitchen and one for the toilet, garage, or garden. It is not hygienic to wash the dishes and scrub the restroom floor using the same gloves. Buy them in distinctive colors and store them separately so they are handy and you won’t mistake one for another.
If you’re not the only one who wears rubber gloves in the house, ensure everyone has their pair. It is to protect the family from cross-contamination. Each pair should be washed from the inside out after three to four uses.
Conclusion
It may seem inconvenient and time-consuming to put on rubber gloves each time you do chores. But it will protect your hands, skin, and nails against the chemicals. Don’t forget to regularly check the gloves for splits, punctures, or discoloration. This is crucial if you’re working with bleach or other harsh chemicals. Please be noted to wash your hands with soap before and after wearing rubber gloves.
Cleaning rubber gloves is simple, yet should never be taken lightly. Save this article on how to clean rubber gloves so you can always refer back to it in the future. Before you leave, let us know in the comment section should you have further questions. See you then!

Veronica is our content editor. She is a talent in delivery. Her main work is editing and writing articles that are both informative and simple to follow. She is in charge of synthesizing our understanding of what personal protection equipment (PPE) is needed in each job, how to best apply it, and how to visualize that equipment.


