
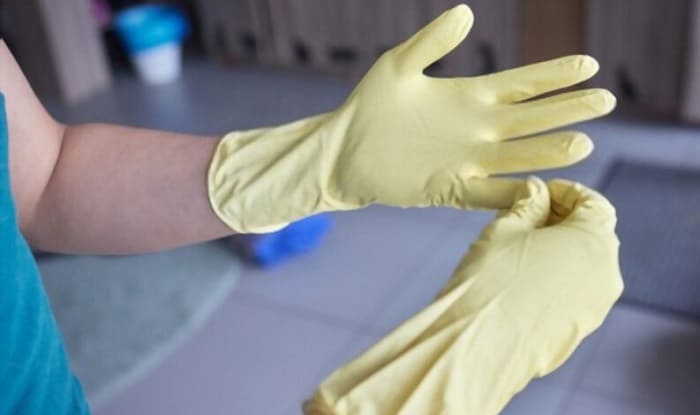
Painting latex gloves inappropriately can turn into a disaster. Most paints will crack and peel when you put the gloves on. Some of them even cause a sticky mess that won’t come off.
In this article, we will walk you through a step-by-step guide, explain the types of paints you should use, and give helpful tips for your DIY project.
Are you preparing for the upcoming Halloween season or a craft project at school? Do you want to learn how to paint latex gloves? Keep reading.
Table of Contents
What You Need
To paint rubber gloves, you will need:
- Mild soap
- Old newspaper or plastic bag
- Oil-based spray paint
- Clear topcoat spray
Steps to Paint Latex Gloves
Step 1. Clean the gloves

If you are painting used gloves, make sure they are clean. Paint won’t stick to dusty surfaces. Follow this procedure:
- Make a soap and water mixture
- Dip the gloves into the solution and softly wash them inside and out
- Run the gloves under clean water to remove the soap
- Hang them on a line to dry
Step 2. Paint the gloves
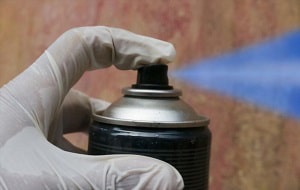
Firstly, place the gloves on an old newspaper or a plastic bag so the paint won’t stain your floor. Before spray painting gloves, shake the paint bottle until the mixing ball starts to rattle. Then, take off the safety clip on the trigger.
Apply a thin coat of paint on one side of the glove, let it dry, flip it to the other side, and repeat the process. Apply two coats of paint for an even and long-lasting finish.
You should allow the paint to dry naturally for one to two hours between coats. Do not use any direct heat as it can shrink rubber.
Note: Chemicals can irritate and itch your skin. When you spray paint gloves, wear black disposable gloves to protect your hands from solvents and isocyanates. The best gloves for spray painting are nitrile gloves.
Step 3. Apply the topcoat sealer
When the paint is dry, apply a top coat to shield the deal. This layer will resist color fade and cracks.
Step 4. Add decorative details
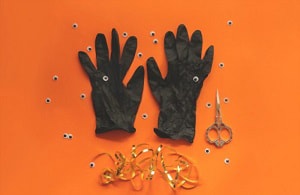
Are you making your custom for the upcoming Halloween? You can add horror effects by attaching nails, studs, and zippers to the gloves. Pay attention to choosing an adhesive that won’t damage the paint or melt the rubber.
Also, ask someone to wear gloves while you are working. Doing so will help the gloves hold their shape, and you can put the details in the right place.
Helpful tips
#1: Choose a suitable spray paint
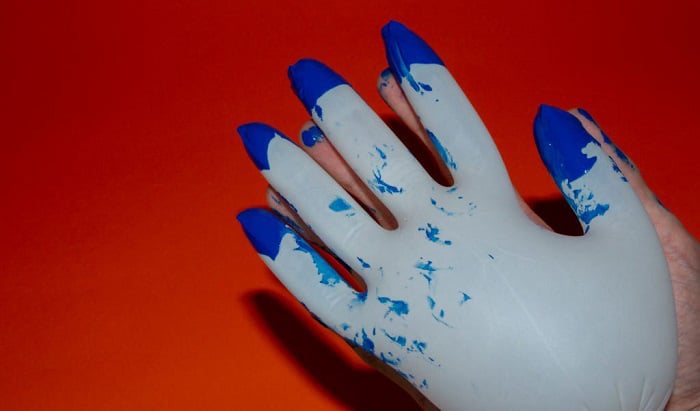
Regular paint may crack, rip, or even react chemically with your rubber gloves. So, read the label to make sure the paint you use is specifically made for latex. We recommend oil-based or latex-based paint.
Note that latex-based paint is only available in white and blue. Also, you must use a paintbrush to apply it.
#2: Paint over pre-painted latex surface
If you’re working with pre-painted latex gloves, don’t try to strip off the old paint. You might damage the pair before you can decorate it. Instead, give the gloves a good wash with soap and water. As long as the original paint is clean, you can paint over it.
#3: Add a primer if necessary
You can use a primer to enhance the color before painting. A primer also eliminates stains and smooths out the surface. For latex gloves, use a brush-on oil-based primer.
Don’t forget to match the primer with the paint color. For example, if you want to paint your gloves a dark color, choose a silver primer.
#4: Use a paint sprayer
If you have a paint sprayer at home, pull it out for this project. You can use the tool to spray the primer and the topcoat. It will help spray paint particles more evenly and smoothly.
Conclusion
Now that you know how to paint latex gloves, when will you carry out your DIY project?
To yield high-quality and durable results, you should take notice to choose the right paint, clean the gloves before painting, and wear PPE to protect yourself.
If you have any further questions, don’t hesitate to reach out to us. It’s our pleasure to help. Thank you for reading!

Veronica is our content editor. She is a talent in delivery. Her main work is editing and writing articles that are both informative and simple to follow. She is in charge of synthesizing our understanding of what personal protection equipment (PPE) is needed in each job, how to best apply it, and how to visualize that equipment.