
Battery-powered or USB-heated gloves are the best products to keep hands cozy during freezing weather. You can easily recharge the batteries, turn the heat on and off, and even adjust the temperature. Unfortunately, a good pair of heated gloves can cost up to a few hundred dollars.
That being said, you can DIY heated gloves at home. The working mechanism of such gloves is quite simple. In short, you need a pair of thin gloves or glove liners. Glue carbon fiber tape onto them. After that, use batteries and tiny wires to conduct electricity, generate heat to the fingers, and cover them with a thick pair of winter gloves.
In this article, besides a step-by-step guide on how to make heated gloves, we will provide pro tips for optimal safety. Dive in!
Table of Contents
What You Will Need
Electrically heated gloves are completely safe to use if they are made properly. Household batteries generate a low voltage that is not dangerous. You can touch the wires with bare hands without feeling anything. Later, we will guide you through some extra steps for maximal protection like selecting the appropriate batteries and waterproof cases.
However, please note that working with batteries and wires should never be taken lightly. Always put your safety first and only carry out the procedure if you are confident with your skills. With that said, quickly gather the following to proceed.
Glove liners
Get a pair of glove liners that are comfortable, breathable, lightweight, and fit your hands snugly. Remember that they have to be thin as you will layer them with wires and another pair of gloves.
Winter gloves
The winter gloves are to cover the wires and batteries. So, make sure you get a nice, warm, and stretchy pair. Depending on your needs, they can be cotton, woolen, or heavy-duty work gloves.
Carbon fiber tapes
Carbon fiber tapes will generate heat when conducting electricity. You can easily buy the tape on Amazon or at a local store. But if you just press the tapes on the gloves, they won’t stick for long. Instead, get some hot glue. To save time, you can buy a complete kit like the Gorilla Dual Temp Mini Hot Glue Gun Kit.
Four batteries
We recommend using four 18650 Li-ion rechargeable batteries 3.7V. The nickel-plated steel shell, automatic safety valve, and insulating ring at the bottom make these explosion-proof and leakproof. Plus, 18650 batteries are highly stable and durable.
Two battery holders
You need one battery holder for each glove, each holder should have two battery slots. Choose lightweight and waterproof holders that feature lids to shield the batteries. Nowadays, most holders have cord wire leads and on-off switches.
If the battery holders you have don’t come with switches, buy two 1.5K (or 1/4W) resistors, two small switches, and two LED lights. Then, on one holder’s side, connect the wire leads to one switch, one resistor, and one LED light. After that, glue them onto the case. Finally, insert the batteries and try switching several times to see if the system works properly. The LED light will tell if the power is on or off.
Steps to Make Heated Gloves
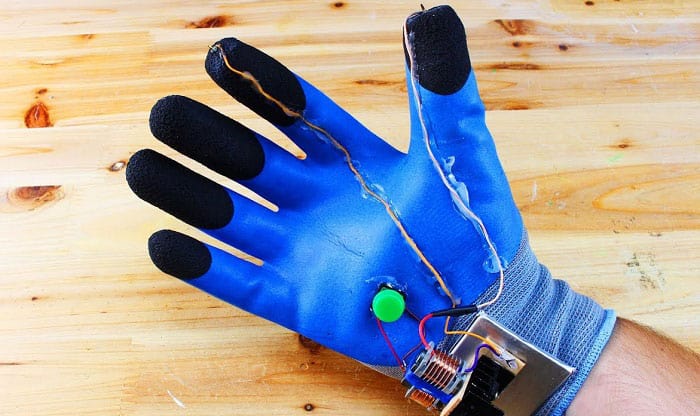
Step 1: Adhere the carbon fiber to the glove liners
First off, lay the glove liners flat on the table. Then, put a small amount of hot glue on each finger and press the carbon fiber tape on. Use one piece of tape for all five fingers. Don’t chop the tape into small pieces. Also, be careful not to get hot glue on your skin.
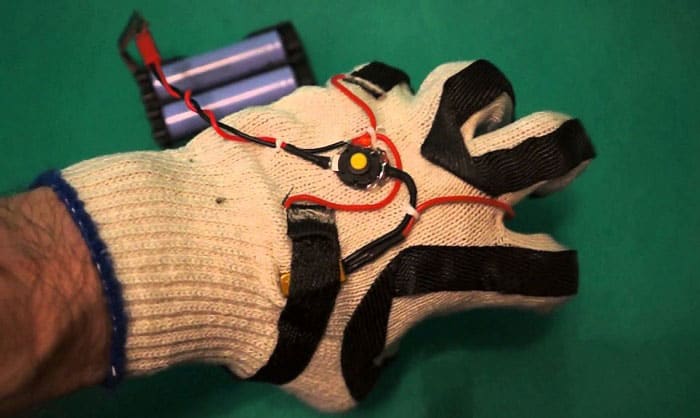
Step 2: Connect the batteries and the fiber tape
Now, use scissors or a razor blade to take off about 1/4 inch of the protective plastic layer covering the wire. After that, glue the bare wire onto one end of the fiber tape.
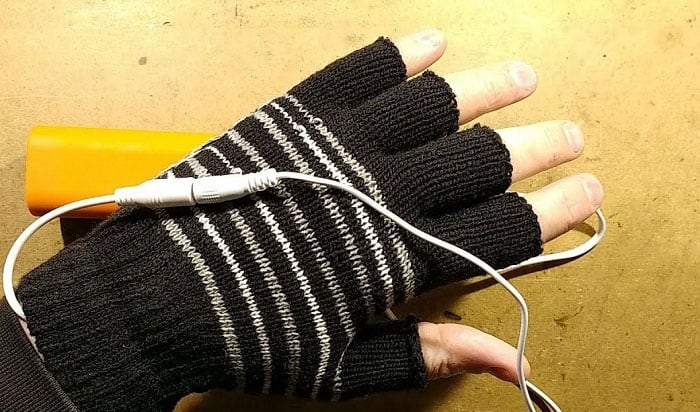
Step 3: Test the gloves
Your homemade heated gloves are done! You can insert the batteries into the holders. Switch it on and wait for a couple of minutes for them to heat up. Finally, try putting the glove liners on and top them up with the winter gloves. Remember to close the holders’ lids tightly and stuff them under the wrists.
Conclusion
Making heated gloves at home turns out to be rather effortless. Though the batteries are waterproof, avoid wearing these gloves in the rain or while doing water sport for maximal safety.
Did you have fun following the tutorial on how to make heated gloves? Please share your results in the comment section. It will be exciting to see your DIY project. See you then!

Veronica is our content editor. She is a talent in delivery. Her main work is editing and writing articles that are both informative and simple to follow. She is in charge of synthesizing our understanding of what personal protection equipment (PPE) is needed in each job, how to best apply it, and how to visualize that equipment.