
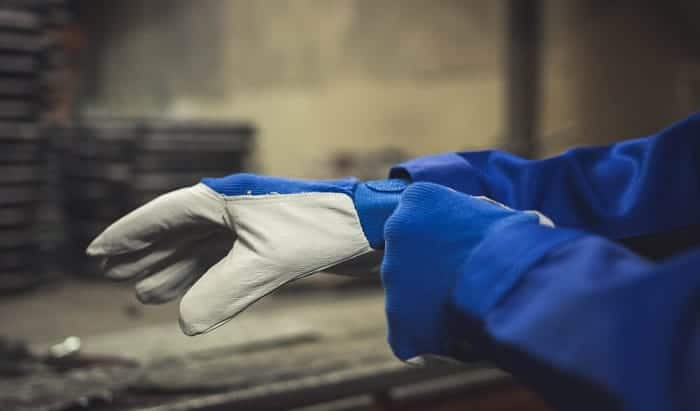
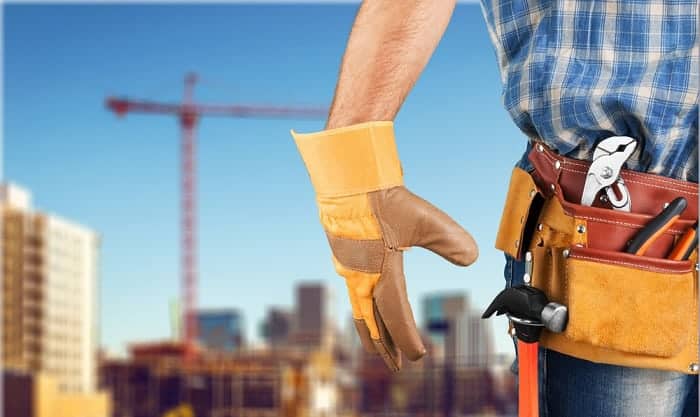
As we get near the wet and cold seasons of the year, many people are heading for waterproof leather jackets, hats, umbrellas, and raincoats. But what about gloves? The best gloves can keep your hands from freezing while shoveling the driveway, walking in a downpour, or doing other outdoor activities.
A good pair of waterproof leather gloves might cost you up to a few hundred dollars. However, the good news is that waterproofing leather gloves at home is possible within a few easy steps. In short, you will need to wash your gloves thoroughly, apply a thin layer of waterproof wax for leather, let the wax sit, and dry the gloves with proper techniques.
Here’s our step-by-step guide on how to waterproof leather gloves, along with tips on cleaning and preserving the leather.
What You Will Need
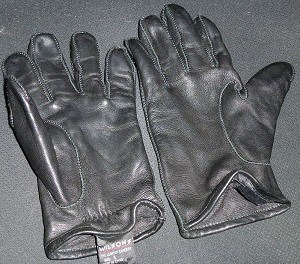
Your leather gloves
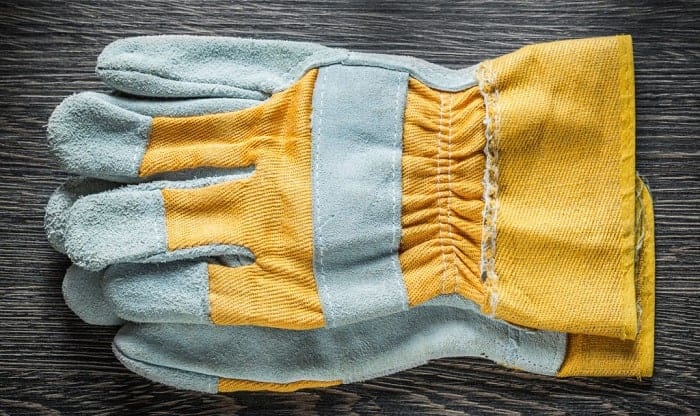
To proceed, you will, of course, need to grab your leather gloves. The waterproof method we provide works well on both old and new gloves. Therefore, if your gloves look a bit beat-up, don’t back off. Otherwise, if you plan to buy new leather gloves to waterproof them at home, here are a few tips on choosing good leather gloves:
- Choose the right glove size: A new leather glove should fit you snugly, not super tight and not a bit loose because leather will stretch over time.
- Choose a type of leather: Leather gloves are made of synthetic leather, cowhide leather, or other animal skin leather. Pay attention to the type of leather you want to purchase.
- Choose a thumb design: Gloves designed with straight thumbs are the most cost-effective style but allow minimal thumb motion. Winged thumb designs offer more flexibility. Additionally, gloves with keystone thumbs let you handle tasks that require dexterity and offer more comfort.
- Choose a well-fitted cuff style: The right cuff that fits your wrist properly will be warmer and more comfortable.
Waterproof wax for leather
Good waterproof wax will penetrate the fibers to lock out all moisture while maintaining breathability. In the long term, leather glove waterproofing wax acts as a leather glove treatment that will help preserve the leather by preventing leather cracks.
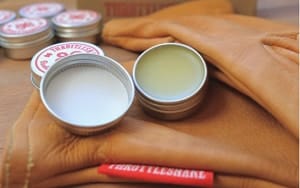
There are many types of waterproof wax for leather on the market, so you can easily buy one on Amazon or at a local store. Also, you should avoid tinted wax if you are working with light-colored gloves.
A cloth
Prepare a few pieces of cloth so you can clean the leather surface before applying the wax.
A soft toothbrush or shoe brush
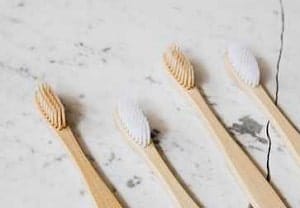
If you are working with leather work gloves, chances are they have dirt and grease. Prepare a soft toothbrush or shoe brush to wash them off. Make sure the bristles are soft so you do not harm the leather surface.
Saddle soap
You will need saddle soap to wash the gloves thoroughly. If you don’t have saddle soap, mild soap is an excellent replacement.
Steps on How to Waterproof Leather Gloves
Step 1: Wash your leather gloves
Before proceeding to the fun part, you must wash your leather gloves. This is crucial because waterproof wax won’t stick to a surface full of dirt and dust.
Some types of leather shouldn’t be soaked in water. If that’s the case, you need to use a damp cloth to clean the leather surface gently. Otherwise, give your gloves a good wash following these steps:
- Use the toothbrush or shoe brush you’ve prepared to scrub off any dirt accumulated in your gloves. If the grime doesn’t come off entirely, soak your gloves in water for about 5-10 minutes before scrubbing again.
- Wash the gloves with saddle soap or mild soap for a deeper clean.
- Carefully rinse your gloves under running water.
- Gently squeeze out any excess water. Don’t wring or twist the gloves.
- Leave the gloves to air dry in a cool and ventilated place. If you are working with thick and bulky gloves, this process might take up to 24 hours. But don’t put the gloves under direct sunlight or expose them to any source of external heat since heat can damage the leather and shrink your gloves.
Step 2: Apply waterproofing wax for leather
Now that your gloves are dry and clean, go ahead and put an amount of wax that is enough to spread a thin layer all over the gloves.
Step 3: Rub the wax and wait
Gently rub several times for the wax to sink into the leather. Don’t forget the seams, fingertips, and folds. Let it sit for about 5 minutes. Then, wipe the surface with a damp cloth to remove any excess.
Step 4: Dry the gloves
Again, do not expose the gloves to any heat source to quicken the drying process. You should lay them flat on a clean surface and let them air dry in a cool and ventilated place.
Voila! Your gloves are now waterproof.
Step 5: Repeat the steps if needed
Drop a little water on your gloves to see if they are waterproof. Seams are where water can easily seep in, so make sure you check that. Feel free to repeat these steps if needed.
Conclusion
In conclusion, waxing leather gloves is not at all complicated. Spend time waterproofing leather gloves so your hands can stay dry and cozy even under wet weather. We hope our tips help take your regular leather gloves to the next level.
If you applied the procedure, please share your result in the comment section. It will be exciting. We look forward to hearing from you. See you then!

Having worked in the field of personal protective equipment for over two decades, Andrew Carnegie is a specialist in the field.
At EDC, he strives to improve performance efficiency and promote workplace safety for EDC’s readers and customers. He also researches the most up-to-date equipment that has earned relevant accreditation for use in a wide range of industries and specialties.