
Do you see cracks on your leather belt? Here’s the bad news: These blemishes are going to be there forever. The good news, however, is that it’s not the end of the world. You can save your belt using the hacks in this tutorial.
But if you have a brand new leather belt, we recommend following our strategies on how to keep leather belts from cracking instead. This way, you can avoid the problem altogether!
Table of Contents
What Causes Cracking Leather Belts?
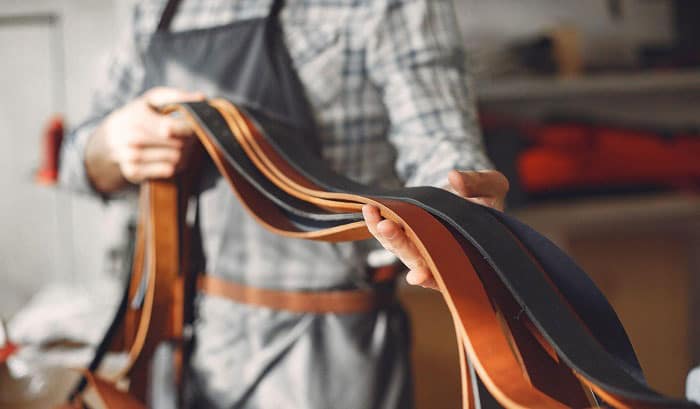
Leather, as we all know, is made of animal skin that was preserved and softened with salt and tanning solutions during the tanning process. Manufacturers use lubricating agents like waxes and oils to keep it pliable.
If you see your leather belt cracking, it’s usually because of these factors:
- Heat – The heat from the sun and other sources like blow dryers or heaters can dry out the natural oils in the leather’s pores. Without moisture, the fibers in the leather would rub against each other whenever we use the item and this will lead to cracking.
- Humidity – Low humidity can shrivel leather’s collagen. When this happens, your belt will dry out and crack. However, too much humidity can turn the belt into a breeding ground for mold and mildew.
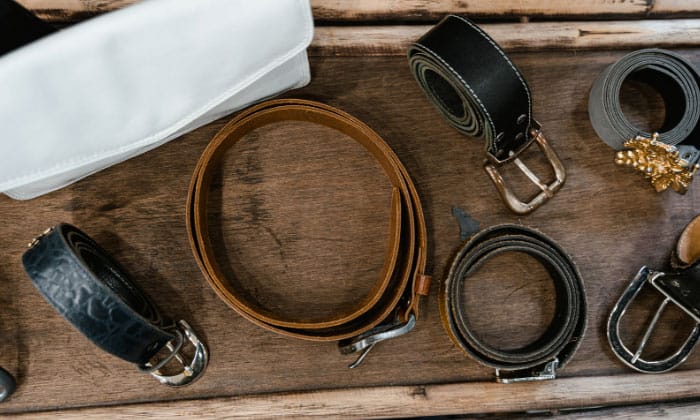
- Poor storage – Your belt hugs your waist throughout the day and keeping it rolled in a drawer will result in cracking and creasing.
Ways to Keep Leather Belts From Cracking
FYI: While the strategies below can help you prevent cracking, they are also the best way to care for a leather belt.
What to prepare
- Clothes hangers, belt hangers, or wall hooks
- Silica gel or dehumidifier
- Damp cloth
- Dry microfiber cloth
- Leather conditioner
- Soft brush
- Bucket of warm water
- Leather cleaning solution or soap flakes
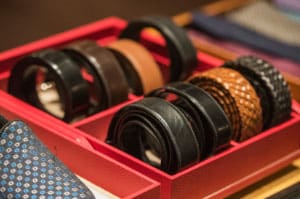
1. Remove your leather belt from your pants and hang it on a hanger or wall hook for a day.
When you store a belt by rolling it or keeping it in the trouser’s loops, the leather will curl and crack. And, if you need to wear a leather belt the next day, use a different one. This way, you can avoid overusing it and delay its aging.
2. Choose a storage space that can protect leather belts against heat, moisture, and humidity.
Here are three things you can do:
- If your belt gets wet, dry them completely using a fan before storing them in your closet
- Keep it away from sunlight.
- Control the humidity in the storage space using a couple of silica gel packets.
- Alternatively, invest in a dehumidifier if you live in a tropical country and have plenty of leather goods to take care of.
1. Once a week, maintain leather belts by wiping off the dust and oils on the surface with a damp cloth.
2. Once a year, wash and condition your belt using the following steps:
First, immerse your belt in warm water mixed with soap flakes or leather cleaner and gently scrub it in circular motions with a cloth.
Then, rinse the soapy solution off the belt with lukewarm water. Make sure to wipe the moisture from the belt with a microfiber cloth and let it air dry.
Lastly, apply some conditioner or mink oil to replace the natural oils that have evaporated over time and prevent the leather from cracking.
How to Fix Leather Belts From Cracking?

What to prepare
- Leather belt conditioner
- Mink oil, or neatsfoot oil
- Soft cloth
- Brush with fine bristles
- Mild soap or saddle soap
- Spoon
Step 1: Wash your belt and condition it
Use your soft cloth to clean the leather and the cracks on it. To clean the deeper parts of the cracks, apply the soap to the crevasses with a brush.
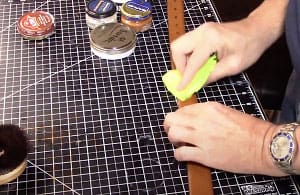
Spread the neatsfoot oil or mink oil using the back of the spoon or your finger. Once you see the crack smoothen out, use a dry soft cloth to remove the residue.
Next, apply some conditioner onto the affected area and surrounding leather with a soft cloth to moisturize it.
Step 2: Condition regularly
You should see improvements after Step 1. To stop the leather from cracking in the future, apply the conditioner once a month.
Be sure to use only a thin layer of the conditioner. Applying large quantities of leather belt care products can choke the pores and cause the fibers to rot.
What to prepare
- Saddle soap or leather cleaner
- Soft cloth
- Brush
- Palette knife
- Leather filler
- 600-grit sandpaper
- 200-grit sandpaper
- Leather dye; choose a color that’s close to your item
- Sponge
- Hair dryer
Step 1: Clean your leather belt and let it dry
Wash your leather belt using saddle soap or any leather cleaner.
You can follow the instructions indicated in the packaging or use the cleaning method detailed in this article under “Ways to keep your leather from cracking.”
Then, rinse off the soap and wipe the excess moisture from the belt.
Make sure that the leather is fully dried before moving to the next step. Otherwise, you will have a hard time applying the filler.
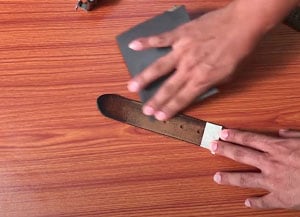
Step 2: Sand the cracks and apply the filler
Rub the sandpaper on the cracks until the area starts to feel smoother. Then, get rid of the dust with a dry cloth.
Apply the filler on cracks using your palette knife. You can also utilize a brush to get the paste deeper into the cavities. Feel free to add more filler if needed.
Once the cracks are filled, remove the excess using the edge of the palette knife.
Step 3: Let the filler solidify and apply the dye
The paste will harden as it dries, which takes about six hours or overnight depending on the weather and humidity level.
Remember to remove the filler residue outside of the cracks before it solidifies. Once dried, use the 200-grit sandpaper to smoothen the area and wipe off the dust completely.
Next, cover the sanded areas with a dye. For best results, follow the leather dye manufacturer’s instructions and ensure that it blends evenly with the belt’s original color.
Allow it to dry completely and top it off with a leather seal spray or cream. Using a hairdryer, cure the seal for two minutes.
Conclusion
The procedure on how to keep leather belts from cracking is far easier to implement than facing the uncertainties of whether you can actually restore them or not.
All you need to do to keep the leather in good condition is hang it after use daily, wipe the dust off weekly, and wash and condition it yearly. That’s all you need to remember so you can avoid irreversible damage and make sure that the belts remain beautiful, flexible, and durable.

Veronica is our content editor. She is a talent in delivery. Her main work is editing and writing articles that are both informative and simple to follow. She is in charge of synthesizing our understanding of what personal protection equipment (PPE) is needed in each job, how to best apply it, and how to visualize that equipment.