
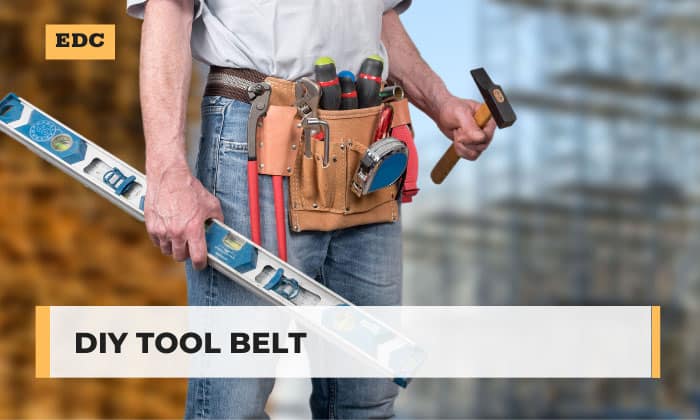
For those who work with many tools and accessories, a tool belt is essential to have their gear assortment neatly organized within reach. This saves them time from going to and fro collecting their equipment.
There are professional tool belts usually worn by electricians and carpenters. On the other hand, there is a variety of tool belt for DIY enthusiasts, also known as hobbyists. Hobbyists can choose between professional and DIY tool belts.
So, what is a DIY tool belt?
Table of Contents
DIY Tool Belt
Unlike professional tool belts, a do-it-yourself or DIY utility belt is something that is crafted according to the user’s desired specifications and features.
If you want to create your own, here are some DIY tool belt ideas you can try:
- Crafting Tool Belt
- Sewing Tool Belt
- Gardening Tool Belt
- Carpenter Tool Belt
- DIY Kids Tool Belt
Types of Tool Belts
1. Waist Tool Belts
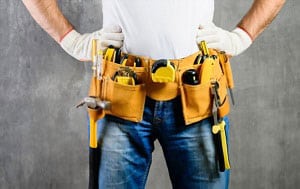
Tool belts worn around the waist are the most common style. Their simple style provides the user an easier access to their tools. However, they tend to cause back pain if the load is too heavy, as the weight is concentrated on your waist.
You can have DIY leather tool belts or canvas designs as your waist tool belts. Just make sure the load is evenly contributed and not too heavy.
2. Hip Tool Belts
With their design considered the most convenient. Hip tool belts are also worn around the waist. But unlike waist tool belts, the pockets rest on the hips and are more lightweight.
3. Apron
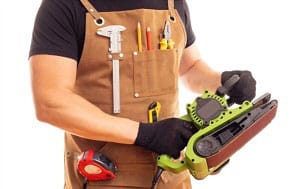
If you want to easily access your tools and keep your clothes clean at the same time, aprons are the best choice. Their design allows them to distribute the weight to the shoulder and waist.
Materials for DIY Tool Belts
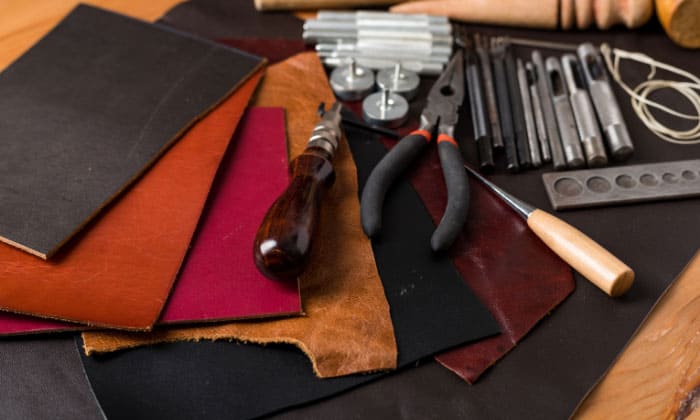
1. Leather
Leather is a trusty material for a DIY utility belt due to its durability and strength. They are also fashionable and are puncture-resistant.
However, a DIY leather tool pouch or belt can be heavier and more expensive to make compared to fabric and polyester ones.
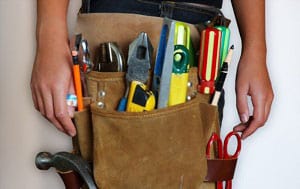
2. Fabric
Fabric tool belts are often made of canvas, which is a light-weight yet durable material. Because of this, a canvas tool belt is always a good choice if you want to use something that is comfortable and well-performing.
If you don’t have access to canvas, you can use other durable fabrics like denim.
How to Make a Tool Belt
If you are a beginner, creating a homemade tool belt made of leather can be challenging. After all, handling leather requires special equipment and care.
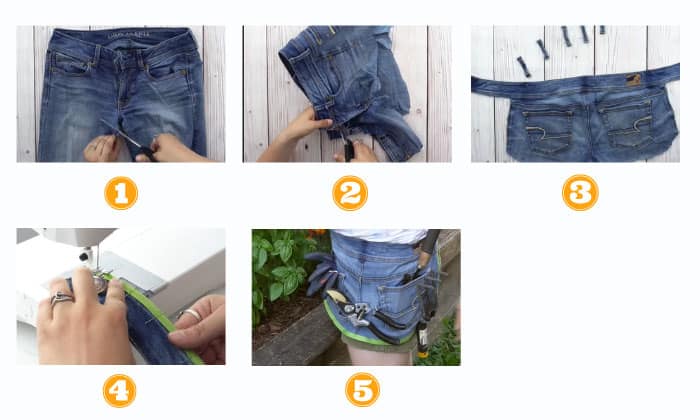
In this tutorial, you will learn how to make one from old jeans. This will not only let you upcycle your jeans but also save you time from cutting patterns and sewing the pockets!
To begin, you will need the following materials:
- Old denim jeans
- Fabric Scissors
- Tailor’s chalk (optional)
- Needle
- Thread
- Seam ripper
- Sewing machine (optional)
- Ribbon or bias tape (optional)
After gathering the materials, just follow this denim gardening tool belt sewing pattern:
Step #1: Cut the legs of the jeans.
On a flat surface, lay the jeans and decide on how long you want the tool belt to be. Ideally, you should cut just right above the groin while ensuring that you are not cutting any of the pockets.
You may use a tailor’s chalk to mark cutting lines if you want.
And, after doing this step, you should be left with the “body” of your tool belt.
Step #2: Cut off the zipper.
- Turn the pants inside out to make sure that you don’t cut any of the pockets.
- Cut along the waistband up until the first pocket, then cut vertically to trim off the zipper area.
- Cutting the zipper ensures that you can easily wear your DIY belt holder.
Step #3: Detach and attach belt loops.
- With the help of a seam ripper, detach the belt loops from the waistband.
- The belt loops will serve as additional holders to hang your tools from for your tool belt.
- Once detached, position them horizontally onto the different parts of the tool belt. You can secure them using pins.
- Attach the belt loops on to the tool belt by sewing their both ends using thread and needle.
Step #4: Add finishing touches.
- This step is optional, but this helps you give your tool belt a cleaner and prettier look.
- Get the bias tape a.k.a. long strips of fabric and place them around the seams of your tool belt. Use pins to keep them in place.
- You can finish off by sewing them by hand (with thread and needle) or by sewing machine.
After following the four simple steps, you finally have your own D.I.Y. tool belt!
Frequently Asked Questions (FAQs)
FAQ #1: How do you measure the size of your tool belt?
Although there are people who base their belt size on their pants size, a good rule of thumb is to base your size on the measurement of your hips.
Additionally, considering that your waist is smaller than your hips, there is a tendency that the pouches will feel a bit snug when worn.
FAQ #2: What are the other qualities to look for in a tool belt?
Aside from durability and comfort, it is also good to consider a versatile and customizable tool belt. This will give you the eoption to modify the belt according to your liking and desired comfort.
For instance, if you are left-handed, using a standard tool belt (which are normally designed for right-handed people) with fixed bags can be really uncomfortable, and well, impractical.
Conclusion
Whether store-bought or DIY tool belt, each one of them does more than just keeping your tools or equipment within your reach.
A tool belt helps you become more efficient, and make working on your project more comfortable. As a result, you will be able to produce a better quality output.

Veronica is our content editor. She is a talent in delivery. Her main work is editing and writing articles that are both informative and simple to follow. She is in charge of synthesizing our understanding of what personal protection equipment (PPE) is needed in each job, how to best apply it, and how to visualize that equipment.