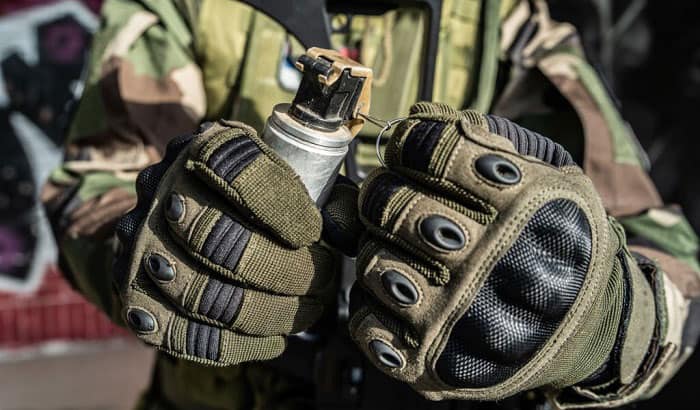
Although we know gloves are a piece of garment, sap gloves are typically used by security personnel for hand-to-hand combat. Also referred to as weighted-knuckle gloves, they are technically a weapon. That said, it is important that they fit your hands perfectly so you can move with ease.
While there are plenty of ready-made sap gloves out there, you can turn fingerless or finger gloves into one! In this tutorial, I will teach you how to make sap gloves in four steps!
Table of Contents
What You Need
1. Leather gloves
If you don’t have leather gloves laying around at home, you can purchase a new pair. Make sure you a pair of that embraces your fingers and hands without feeling too tight. Furthermore, check that the leather is equipped with vents or is breathable to prevent trapping your sweat inside.
Essentially, the leather strips will hold the metal powder. Genuine or synthetic leathers work well but be sure to choose thinner strips to keep the sap gloves less bulky. If you want to go for genuine leather, I highly recommend the durable yet soft ones. In terms of color, you can choose the one that is closest to the gloves that you have.
2. Metal powder
You have probably seen “8oz sap gloves” in the product descriptions of various sap gloves or “4oz steel shot sap gloves.” Basically, the numbers indicate the weight of the iron powder or steel shot inside the gloves.
If you are looking for steel shot or metal powder in a science or laboratory supplies shop, you can use those as references.
3. Fabric scissors
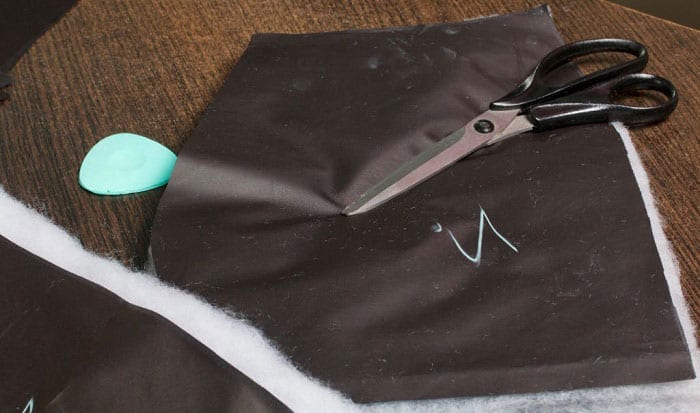
Go for a pair of heavy-duty fabric scissors; they let you get a nice straight cut. If you have a rotary cutter or Cricut machine, you can use them, too!
Understandably, some of you may not have the cutting tools that I mentioned above. However, ordinary scissors are not an option. Even if they are sharp, you will have to force them through, resulting in jagged cuts.
4. Sewing kit
You can use a sewing machine if you have one. But if you ask me, I find hand sewing to be a lot easier for this DIY sap gloves project.
On that note, choose a special needle for leather. When you go to a local sewing supplies store, check the packaging of the needle to determine if it indeed works on leather.
As for the thread, make sure to choose a color that matches the glove and the leather strips.
5. Measuring tools
A measuring tape is a must for this project since you need to accurately determine the length of each finger on the gloves. If you don’t have a measuring tape, feel free to use a desk ruler!
Step-by-step Instructions
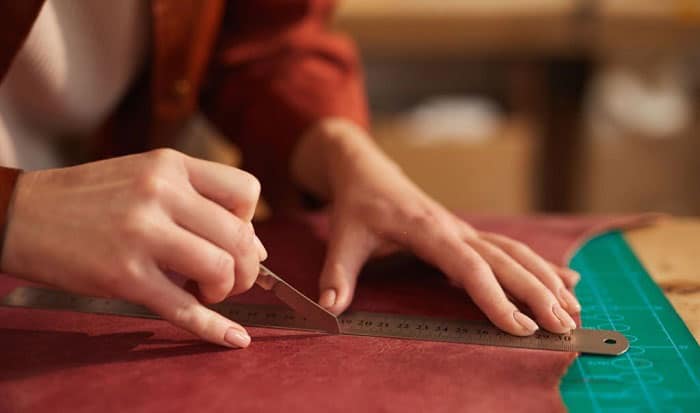
Step 1: Grab your ruler or measuring tape and your gloves. Do this by placing the measuring tape one inch above the knuckles up to the middle joint of the finger. Next, measure the width of each finger on the gloves, except for the thumb.
Tip: Don’t trust your memory. Take note of the measurement on a piece of paper. Remember, accuracy is key to this DIY project!
Step 2: Take your leather fabric. With your fabric scissors or rotary cutter, cut it up into strips according to the measurements you have noted. You should have eight leather strips in total, which include your pinky, ring, middle, and index finger of both hands.
Step 3: Place the leather strips to their corresponding fingers on the gloves. However, you do not have to put it right in the middle. You can move it slightly lower along the finger. After that, sew three sides of each strip to create a pocket for the metal powder.
Step 4: Fill the pocket you just made with metal power and sew the opening securely to prevent spillage. Repeat the process for each finger on the gloves. Just ensure that you pour in the same amount of powder for each glove.
Conclusion
The hatch sap gloves manufactured by known tactical equipment brands are a great option but they can be expensive for some folks. You might feel bad about tearing them apart just to customize. Hence, I created this tutorial on how to make sap gloves that is simple yet functional. Once you have learned the basics, you can add further iterations to suit your needs and style.
Did you enjoy this tutorial? Please let me know in the comments and don’t be shy to talk about your DIY project! If you have friends who are into hand-to-hand combat, share this article with them!

Veronica is our content editor. She is a talent in delivery. Her main work is editing and writing articles that are both informative and simple to follow. She is in charge of synthesizing our understanding of what personal protection equipment (PPE) is needed in each job, how to best apply it, and how to visualize that equipment.


