
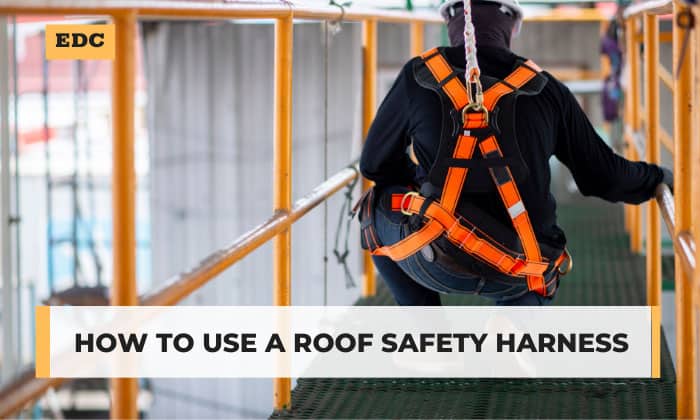
Roughly 50 roofers die from falls yearly, which explains why safety organizations regulate the construction industry heavily. Besides providing the staff with fall protection systems, employers must ensure their employees are well-trained to use them.
This article will provide a comprehensive guide on how to use a roof safety harness. But since each system is made by different manufacturers, we recommend that you refer to this in conjunction with the user manual that comes with the product.
Table of Contents
Step-by-step to Use a Roof Safety Harness
What to prepare
Complete personal fall arresting system (PFAS):
- Anchorage
- Full-body harness
- Lifeline
- Lanyard
- Rope grab
Tools for slide guards:
- Extension ladder
- Tape measure
- Eye protection
- Cordless drill
- Hammer
- Nails and screws
- Pry bar
Note: For roof anchors, refer to the manufacturer’s user manual or labels for a complete list of tools.
Safety reminders before you start working
- Choose a working day when it is neither scorching hot, windy, nor wet.
- Roof fall protection equipment is not the only PPE you need. Wear non-slip shoes or work boots, eye protection, a hard hat, gloves, long sleeves, and long pants.
- Always work with someone who can hold the ladder for you or call for help in case of an emergency.
- If you’re a homeowner with no experience in roofing or using a roof safety harness kit, remember that you don’t have to be a daredevil. Hire a professional roofing contractor instead.
Step 1: Check your harness for damage
Inspect all the components of your harnesses thoroughly. The webbings and stitchings must be free from tears and frays, while the hardware should not be chipped or broken. Go over the labels and tags to see if they are legible.
But even if the safety harness for roof work appears to be in mint condition, you still need to remove it from service if:
- It was previously involved in a fall.
- It is past its expiration date.
- It is not your size.
- You never received training on fall protection systems.
Step 2: Calculate the fall distance
The total fall distance is the minimum vertical distance between the lower level (the ground) and the dorsal D-ring on the back of the harness.
Calculate this by adding the following:
- Length of the connecting device
- Deceleration distance. As dictated by OSHA, the maximum deceleration distance should be 3.5 feet.
- Height of the individual using the harness
- Distance between the dorsal D-ring and the user’s feet
- A safety margin of 2 to 3 feet, depending on the guidelines set by the local safety authority
This formula helps you to determine the length of the lanyard that you need to secure yourself on a roof without hitting the ground in the event of a fall.
The sum of the elements above should be shorter than the fall clearance. If it’s longer, you’ll need to get a shorter safety harness.
Step 3: Build a slide guard and mount the anchorage on the roof
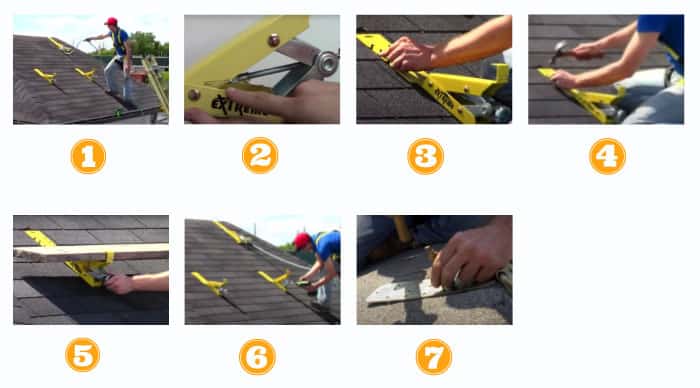
- Use an extension ladder that extends at least three feet above the roof. You may need another person to help you hoist the bucket of tools to be used in these DIY roof harness anchors.
- Now, you’ll need to construct your own slide guard with roof brackets and 2×6 or 2×4 planks. In one row, position the brackets about 4 feet apart from each other and 18 inches above the eave.
- Using a pry bar, lift a shingle tab on your roof and slip the bracket underneath it to install each bracket.
- Pound the nails to place the bracket, and be sure it hits the rafter.
- Place the plank and allow at least 6 inches of it to extend past the bracket. Drill the screws to affix the plank onto the brackets.
- Add another row of slide guards every 8 feet up the roof for good measure.
- Next, install roof harness anchor points. You should read the manufacturer’s required tools and instructions and follow them accordingly. This means you must use only the specific screws and nails that the manufacturer recommends.
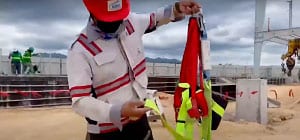
Step 4: Don the harness
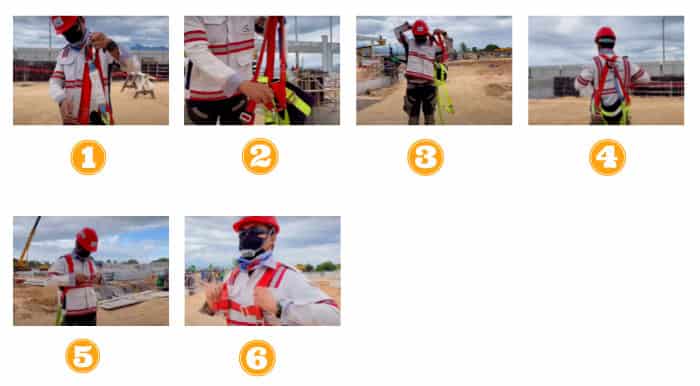
- Grab the harness by its dorsal D-ring and give it a good shake to untangle its straps.
- Disconnect all buckles and loosen the tension straps.
- Insert your arms and shoulders through the shoulder straps.
- Adjust the harness to ensure that the D-ring sits between your shoulder blades.
- Attach the leg straps, followed by the waist strap and the chest strap—in this order.
- Adjust all straps until they are snug without limiting your movement. Then, tuck the excess straps into the keepers.
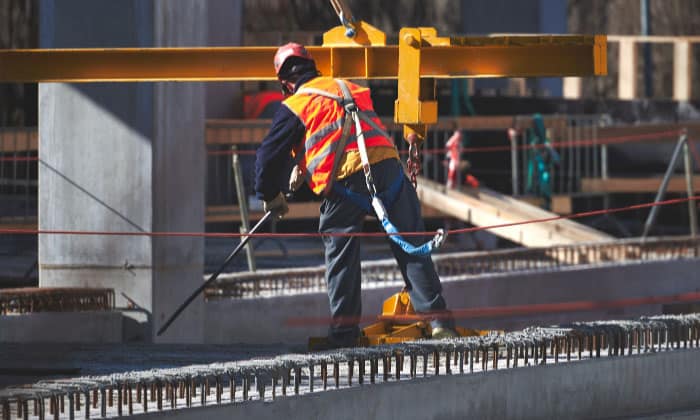
Step 5: Attach the PFAS to the anchor point
The instructions on how to anchor a safety harness to a roof vary depending on the type of roof harness kit. A self-retracting lifeline (SLR) works slightly differently than a personal fall arrest system (also known as PFAS).
For an SLR, you’ll need to connect the SLR directly to the anchor system, and it’s the snap hook to your dorsal D-ring.
However, if you’re using a PFAS, you must first connect the lifeline to the roof anchor using the manufacturer’s instructions. Then, attach the rope grab and lanyard to the lifeline. Lastly, attach the shock-absorber end of the lanyard to your dorsal D-ring.
Safety reminders when you use a safety harness on a roof:
- Stay close to your anchor point and ensure the system is taut to minimize any pendulum effect when you accidentally fall from the roof.
- Feel free to install more anchor points if you need to move to a different location on the roof.
- Manufacturers recommend that only one person can tie off a safety harness to one anchor point.
- There is no rule as to how many workers are allowed to work on a roof. Still, you need to assess the risks and use your judgment accordingly.
FAQs

Personal fall arrest system and fall restraint: what is the difference?
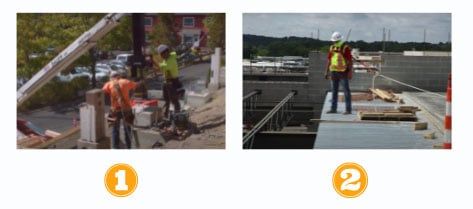
In roofing, workers use two types of harnesses, namely the personal fall arrest system (also known as PFAS) and the fall restraint.
Essentially, the PFAS is used to catch a fall. On the other hand, the fall restraint prevents the user from getting to the roof’s edge.
Consult the safety organization in your area or your safety officer to help you determine the safety harness kit for roofing that is most appropriate for your specific task.
How do you use a roof anchor?
A properly installed roof anchor allows you to use safety harness and lanyard without any hazards. Simply put, this anchoring device is used to bear your weight in the event of a fall.
Because this device is supposed to be affixed on the roof or immovable surface, you use a stable extension ladder to climb up—and yes, without the PFAS. Therefore, you will need another worker to assist you.
While the recommended mounting position of a roof anchor may vary from product to product, you must always fasten it to solid wood. Anything too flimsy will not be able to hold your weight should you fall.
Where do you put a harness on a roof?
You need to put on the harness before you tie it off on a roof. One wrong move can cause you to slide toward an unprotected roof edge and fall. Therefore, where you stand on the roof is irrelevant. OSHA requires all roofers to use fall arrest systems, guardrails, and a warning line.
If you’re wondering where to put the harness’ anchor point on the roof, then you’ll have to check the manufacturer’s instructions. This is because, as safety harnesses can vary, the necessary gears and mounting surface may also change as well.
Conclusion
Granted, the steps on how to use a roof safety harness may seem easy when you read them. But in actual practice, workers must attend fall protection training and be retrained periodically to ensure that their knowledge is up to date.
Whether you’re a homeowner or a helpful neighbor, you should not go up the roof if you feel nervous about working at a height. If you’re an employer, consult the safety organization in your region to stay informed of the latest rules and regulations to ensure that your workers are well-protected.

Veronica is our content editor. She is a talent in delivery. Her main work is editing and writing articles that are both informative and simple to follow. She is in charge of synthesizing our understanding of what personal protection equipment (PPE) is needed in each job, how to best apply it, and how to visualize that equipment.